When emergency contacts matter—and what iPhone can do
Your iPhone can help in the moments when you can’t unlock it, can’t speak clearly, or you’re not the one making decisions. That includes a fall, a car crash, a sudden allergic reaction, or a kid with a dead phone and a locked screen. In those situations, “emergency contacts” don’t mean the people starred in your Contacts app—they usually mean the contacts saved to your Medical ID.
Medical ID can be shown from the lock screen, so a bystander or first responder can see key details (like your name, age, medical conditions, allergies, and medications) and call your emergency contacts without knowing your passcode. The practical catch is that none of this helps unless you set it up ahead of time and allow lock-screen access.
Before you start: pick the right people and info
Most people choose the “closest” person first, then realize that person is unreachable at 2 a.m. Pick two or three contacts who reliably answer unknown calls, keep their number stable, and can make decisions (or quickly reach someone who can). For parents and caregivers, include a second adult outside the home in case the primary caregiver is the one who’s hurt. If you have a complex family setup, add one “coordination” person who can text and call widely without creating confusion.
Gather the details you’ll want visible on the lock screen, because that’s what makes Medical ID useful: your legal name and age, key medical conditions, allergies, medications, and any critical notes like “Type 1 diabetes” or “blood thinner.” Keep it brief and readable—long notes get skipped in real emergencies. Also check each emergency contact entry has the right mobile number, not an old landline or a work extension.
Set up Medical ID emergency contacts in the Health app
Open the Health app, tap your profile picture (top right), then tap Medical ID. Choose Edit, and scroll to Emergency Contacts. Tap “add emergency contact,” pick the person from Contacts, and choose the relationship (spouse, parent, friend). Repeat for at least two people. If you don’t see someone you want, back out and add them in the Contacts app first (with a mobile number), then return to Health and try again.
Before you hit Done, turn on “Show When Locked.” That switch is what makes this usable when your phone is locked; without it, first responders can’t see your Medical ID or call the people you added. Also review the basics shown above the contact list—name, age, conditions, allergies, medications—because that’s what a stranger will actually read. A practical limitation: Medical ID calls can come from unknown numbers and odd hours, so tell your contacts to answer and to save a note like “Medical ID emergency contact” for you.
Make Emergency SOS work the way you expect
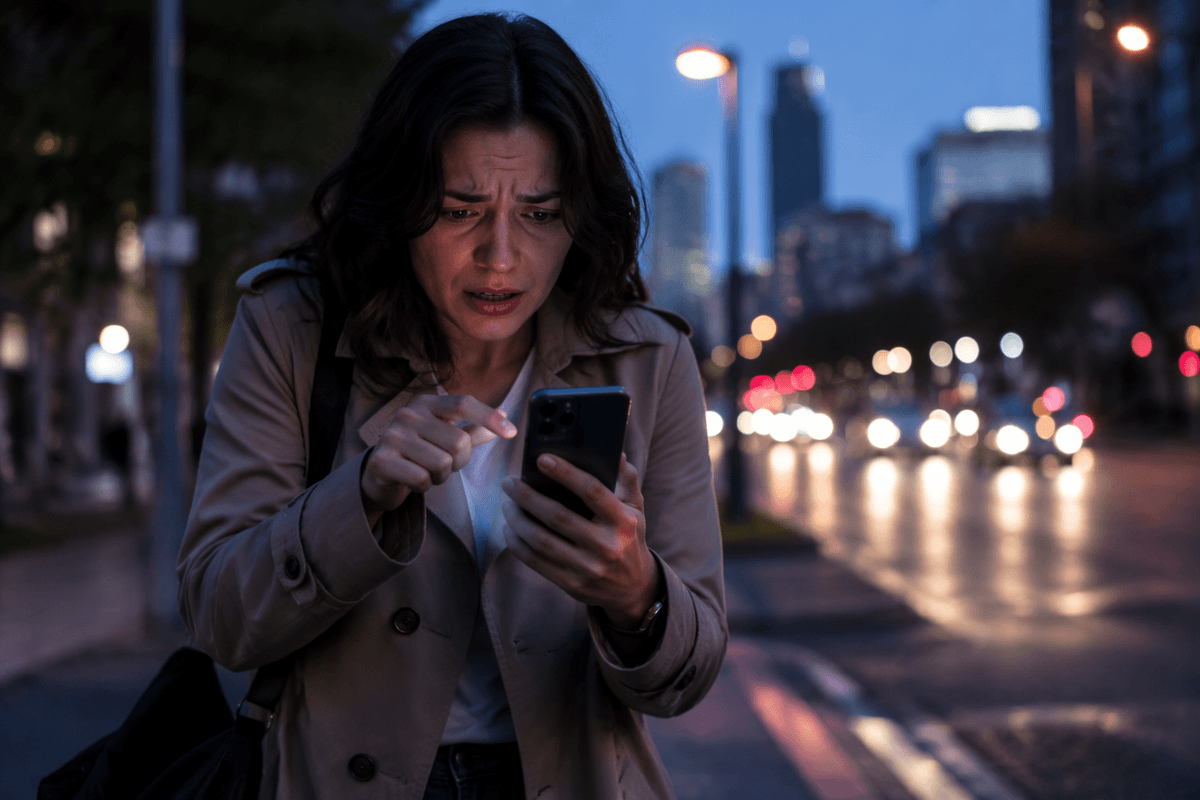
Many people assume Emergency SOS automatically calls their Medical ID contacts. It doesn’t. Emergency SOS is built to contact local emergency services first, then optionally notify your emergency contacts after the call ends. On your iPhone, go to Settings > Emergency SOS and choose how you want it to trigger (hold Side button + volume button, or rapid-press the Side button if that option is available). If you’re setting this up for a child or an older adult, pick the trigger they can do under stress without looking.
Turn on the option to call after a countdown so you have a brief moment to cancel false alarms. Then turn on “Call with Hold” (if you want it to dial only while buttons are held) or “Call with 5 Presses” (if you want a faster action). Also enable the setting that shares a message with your emergency contacts after an SOS. The trade-off is real: easier triggers can mean accidental calls, especially in a pocket or bag, so set it deliberately.
Location sharing: what your contacts will actually receive
You’ll usually get location sharing in two different ways, and they’re easy to mix up. Medical ID itself doesn’t “share your location” with your emergency contacts. It mainly gives a lock-screen way for someone nearby to call them and share where you are in plain language (“We’re at the north entrance of the mall”).
Location sharing happens through Emergency SOS notifications (if you enabled them in Settings > Emergency SOS). When SOS finishes, your emergency contacts can receive a text that you called emergency services and includes your location. If you move, your iPhone may keep sending updates for a period of time, so they can see where you’re headed. The practical limitation: this depends on cell service (or Wi‑Fi calling), a charged phone, and permissions like Location Services. If your battery is dead, you’re in a low-signal area, or the SOS notification setting is off, your contacts may only get the call—no map link.
Test it safely and fix common setup surprises
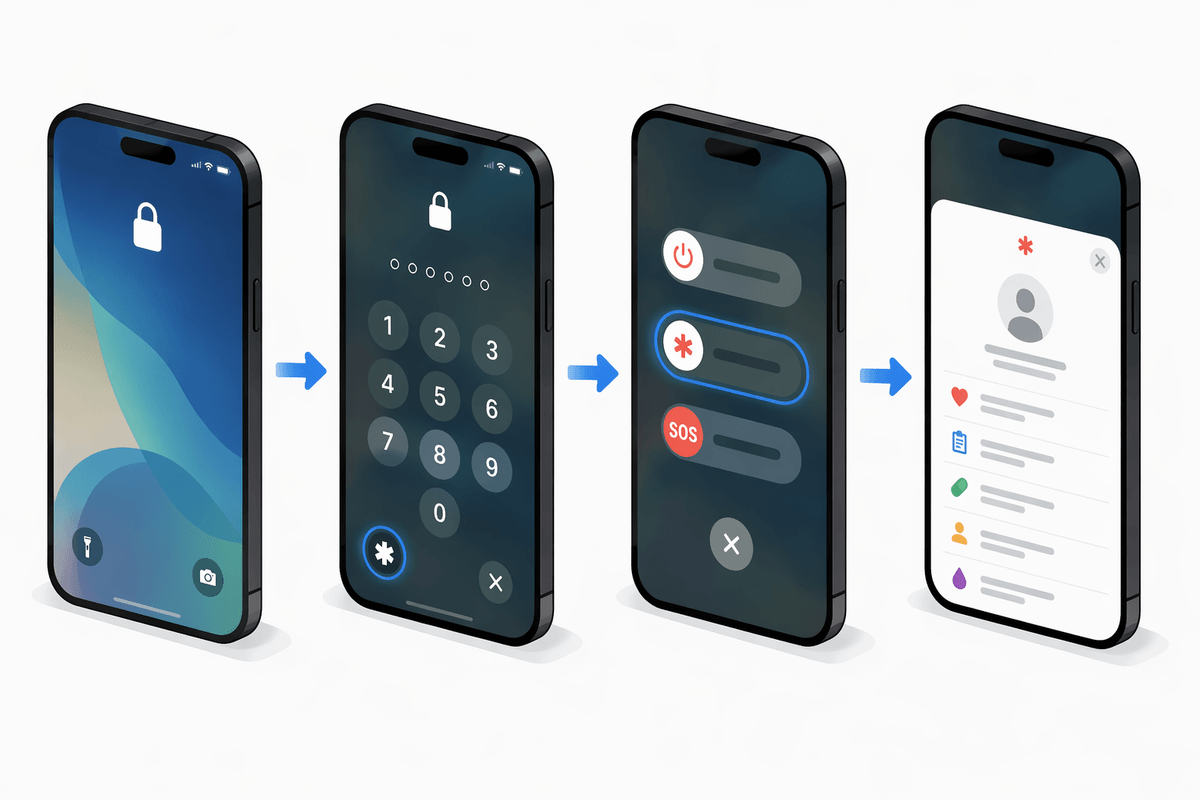
A quick “paper test” catches most mistakes without calling 911. Lock your iPhone, then press Side button + Volume (or swipe up on Face ID models) to reach the passcode screen. Tap Emergency, then Medical ID. Confirm your details are readable, “Show When Locked” is working, and each emergency contact has the right mobile number. If you don’t see Medical ID at all, go back to Health > Medical ID and re-check the lock-screen toggle.
Common surprises are usually boring: the contact you added only has an email or a work extension, the number is outdated, or the person is blocked by Silence Unknown Callers (yours or theirs). Fix the phone number in Contacts, then return to Health and re-add the person if needed. Also confirm your iPhone can send SOS location by checking Settings > Privacy & Security > Location Services is on. A real constraint: a proper live test of Emergency SOS can trigger emergency services, so avoid “trying it for real” unless you know your local guidance for non-emergency test calls.
Keep it current: quick maintenance that prevents failures
The setup that fails in real life is usually the one you never revisit. Put a simple reminder on your calendar every 6–12 months (and after any move, new phone, new carrier, divorce, or custody change): open Health > Medical ID and confirm “Show When Locked,” then tap each emergency contact and verify the mobile number is still right. Make sure your contacts know they may get late-night calls from unknown numbers and shouldn’t ignore them.
Also check the boring stuff that breaks location: Location Services on, battery health reasonable, and at least one backup contact who lives in a different area code or time zone. The small cost is a few minutes; the payoff is avoiding a locked-screen dead end.