What “best charging station” actually means for you
You’ll see “best” used to mean the fastest charger, the cheapest rate, or the most plugs in a parking lot. In real life, “best” is the option that gets you charged with the least friction: it works with your connector, it’s actually available when you arrive, it delivers close to the speed your car can accept, and it doesn’t surprise you with confusing pricing. A 350 kW label doesn’t help if the station is down, blocked, or capped by your vehicle. The trade-off is that the most reliable options can cost more or require a membership app.
Start with your car: connector types, speed limits, adapters
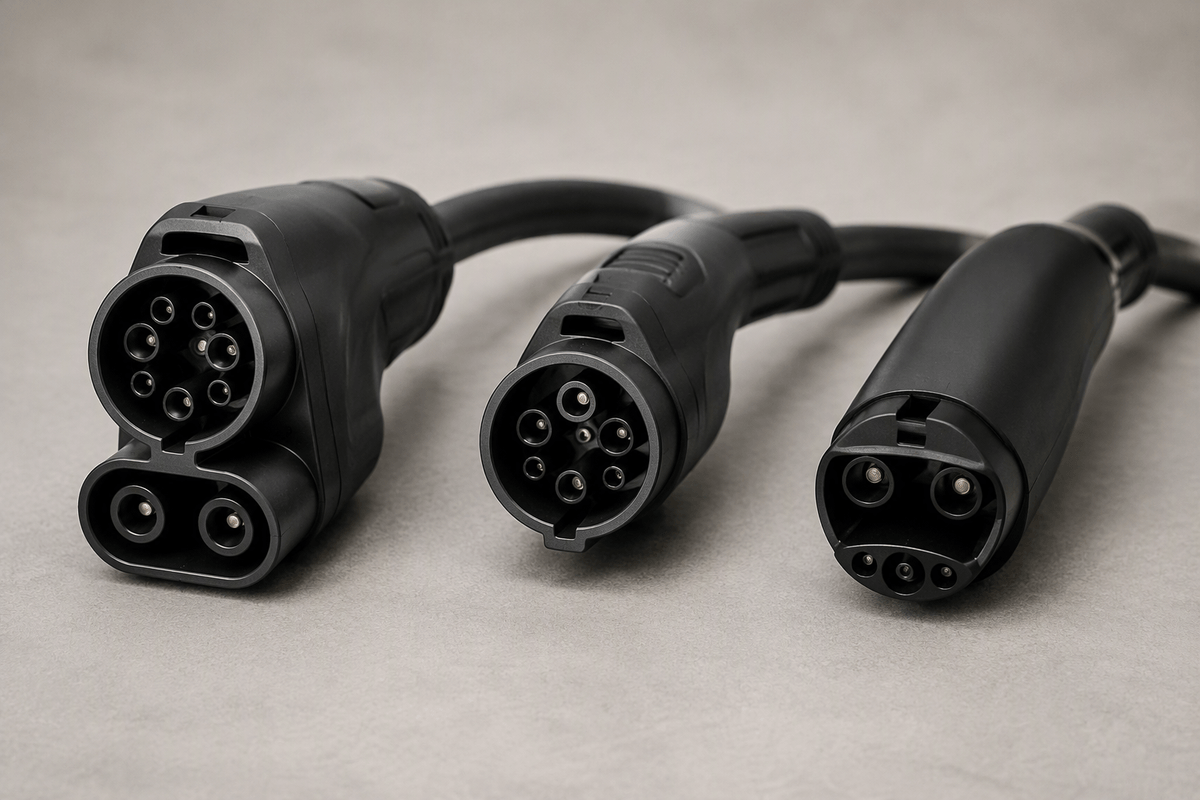
The quickest way to narrow “best” is to start with what your car can physically use. Check the connector on your charge port and what comes with the vehicle: many EVs use CCS for DC fast charging and J1772 for Level 2, while a growing number use NACS (the Tesla-style plug) for both. If your car can’t use a station without an adapter, that station is automatically less convenient, even if it’s nearby.
Then match expectations to your car’s real charging limits. Every EV has a maximum DC fast-charging rate, and it often varies by battery size, temperature, and state of charge. A 250–350 kW station won’t deliver those numbers if your vehicle tops out lower or if the battery is cold. Adapters can be a good bridge, but they add cost, can be out of stock, and some networks limit access by vehicle or app setup.
Home, workplace, or road trip—each favors different stations
If you can charge where the car already sits for hours, “best” shifts from peak speed to consistency and habit. Home charging favors a simple Level 2 setup that matches your panel capacity and daily miles, because waking up to a fuller battery beats hunting for a public plug after work. Workplace charging is similar, but availability matters more: a slower Level 2 can be perfect if you reliably park there all day, while a small number of shared ports can turn into a weekly scramble if your office is full.
Road trips flip the priorities. You’re not trying to add a little range every night—you’re trying to minimize total stop time and avoid stations that are down, blocked, or hard to access. That means choosing routes around dependable DC fast sites with multiple stalls, easy pull-through access if you’re towing, and predictable payment. The practical constraint: the most convenient options may require specific apps, memberships, or higher per-kWh pricing.
Level 2 chargers: the best picks for daily routine
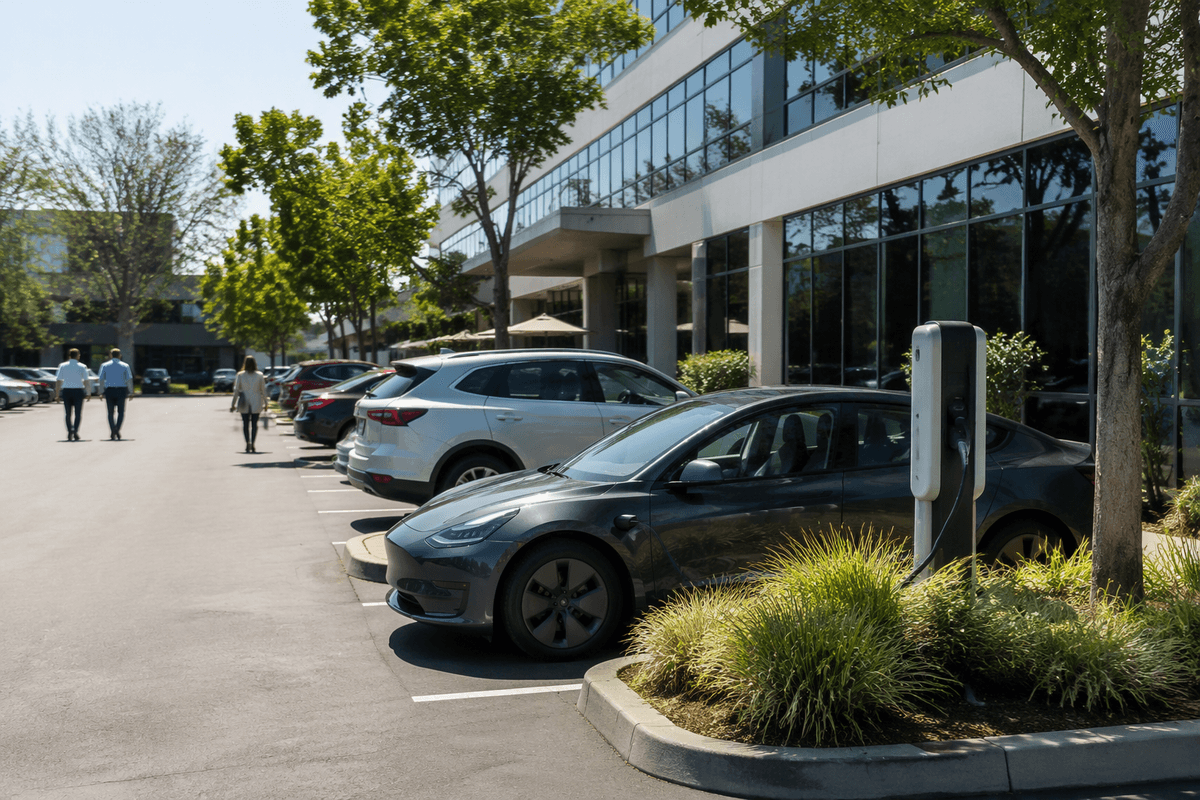
You’ll feel the difference with Level 2 charging when it becomes background routine: plug in after dinner or when you park at work, and you stop thinking about “finding a charger.” For most drivers, the best Level 2 option is one that reliably adds roughly 20–35 miles of range per hour (depending on the car), uses the connector you already have (J1772 or NACS), and lives where you’re already parked. At home, a 240V setup sized to your electrical panel is usually the sweet spot—faster than a wall outlet, without the cost and complexity of chasing maximum amperage you rarely need.
When you’re comparing specific Level 2 units or locations, prioritize boring reliability over extra features. A hardwired home charger can be more stable than a plug-in model, but it often costs more to install and may require an electrician and permits. Public Level 2 is best treated as “bonus charging” for long parking sessions; the practical downside is shared access—one broken handle, an ICE’d spot, or a full garage can erase the convenience.
DC fast-charging networks: reliability beats peak kW numbers
You notice it on a road trip: the “fastest” site on paper isn’t the one that saves you time. What matters is whether you can pull in, start a session quickly, and get a steady charge without hopping stalls or calling support. A 350 kW pedestal is only useful if your car can hit high speed at that state of charge—and if the station can actually deliver it. In practice, a dependable 150–250 kW stop with multiple working stalls often beats a higher-rated site that’s half down or constantly busy.
When you compare networks, look for patterns that reduce failure and waiting: lots of stalls per location, simple payment, clear status reporting in the app, and sites placed right off highways rather than deep in a maze of parking decks. Pay attention to connector access, too—NACS vs CCS availability, whether your car needs an adapter, and whether that adapter is allowed or supported. The real constraint is cost and friction: the “most reliable” network for your route may have higher per-kWh pricing, idle fees, or require an account setup before you’re already low on range.
The hidden factors: location, amenities, safety, and pricing
You can usually predict a “good” station before you even plug in by looking at where it sits and how it’s laid out. Stations right off a highway exit, in an open lot with clear signage and multiple working stalls, tend to waste less time than chargers buried in a multi-level garage or behind a hotel loading zone. Access matters more than it sounds: tight turns, short cables, or shared spots can turn a quick stop into a re-parking exercise—especially with a larger EV, roof box, or trailer.
Amenities aren’t about comfort; they’re about control. A restroom, food, and decent lighting reduce the temptation to cut a session short or wait in the car with doors locked. Look for visible foot traffic (but not chaos), cameras or nearby businesses, and consistent cell service so the app and payment actually work. Pricing is the sneaky one: per-kWh vs per-minute billing, peak-hour rates, membership discounts, idle fees, and parking fees can flip the “cheapest” option. The practical downside is time: comparing all this mid-trip is hard, so it’s worth favoring a few dependable locations you’d gladly use again.
How to choose your personal “best” in three quick scenarios
You’re choosing between three common patterns, and each one has a different “best.” Scenario one: you drive most days but rarely road-trip. Prioritize a home (or workplace) Level 2 setup that matches your panel capacity and schedule, even if it isn’t the highest-amp unit. The win is consistency: a reliable overnight top-up beats chasing public pricing and availability.
Scenario two: you can’t reliably charge where you park. Your “best” becomes a dependable public routine: a nearby Level 2 you can count on for long stops (gym, grocery, movies) plus one DC fast site as a backstop. Expect some friction—apps, parking rules, and occasional broken handles—so pick locations with multiple plugs and good lighting.
Scenario three: you take regular road trips. Build a short list of DC fast sites with lots of stalls, easy highway access, and predictable payment, then treat peak kW as a bonus. Keep your adapter plan simple, and assume you’ll pay more per kWh for the stops that actually save time.
A simple short list and next steps before you buy or plug in
If you want a simple short list: get a home Level 2 charger if you can (hardwired if your setup allows), keep one “routine” public Level 2 spot for long errands, and pick two or three DC fast sites you’d happily use again on your most common routes—favoring multi-stall locations with straightforward access and consistent session starts. Before you spend money, confirm your connector (NACS vs J1772/CCS), verify whether your car is approved for the adapter you’re planning to use, and do one test charge on a normal weekday. The practical cost is time: installation, permits, and learning pricing rules.