You wipe the screen with a paper towel, hit the keyboard with a spray cleaner, and call it done—then you’re left with streaks, sticky keys, or a laptop that suddenly runs hotter. Laptop cleaning usually goes wrong for three reasons: the wrong tool (abrasive towels that scratch), the wrong liquid (household cleaners that can damage coatings), or the wrong amount (spraying until moisture reaches switches, seams, or vents). “Right” means controlled, minimal moisture; gentle materials; and cleaning in a way that doesn’t push dirt deeper into the device. It also means accepting a limit: most “deep” fan cleaning requires opening the laptop.
Prep like a technician: power down, tools, and safe liquids
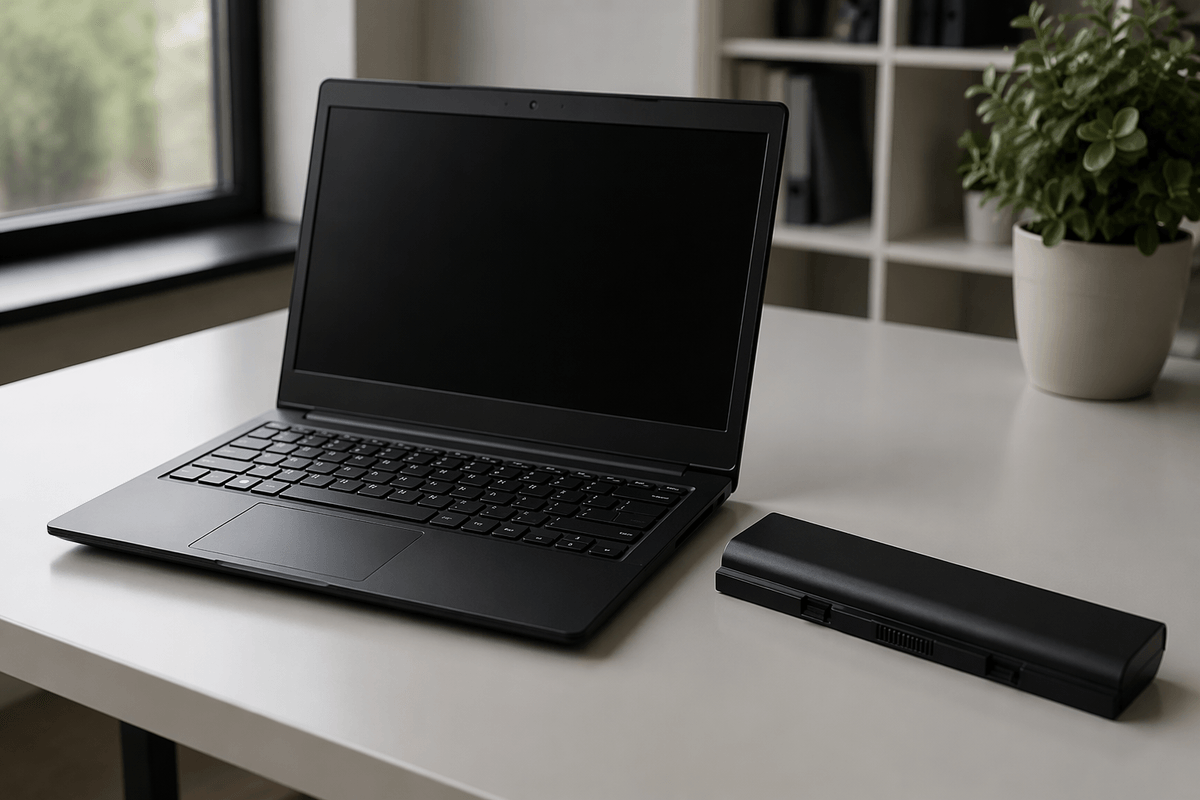
The safest clean starts with removing power and lowering the risk of shorts. Shut down fully (not sleep), unplug the charger and anything in USB ports, and if your laptop has a removable battery, take it out. Let the machine cool for a few minutes so cleaners don’t flash-dry into streaks and warm vents don’t pull damp air inside.
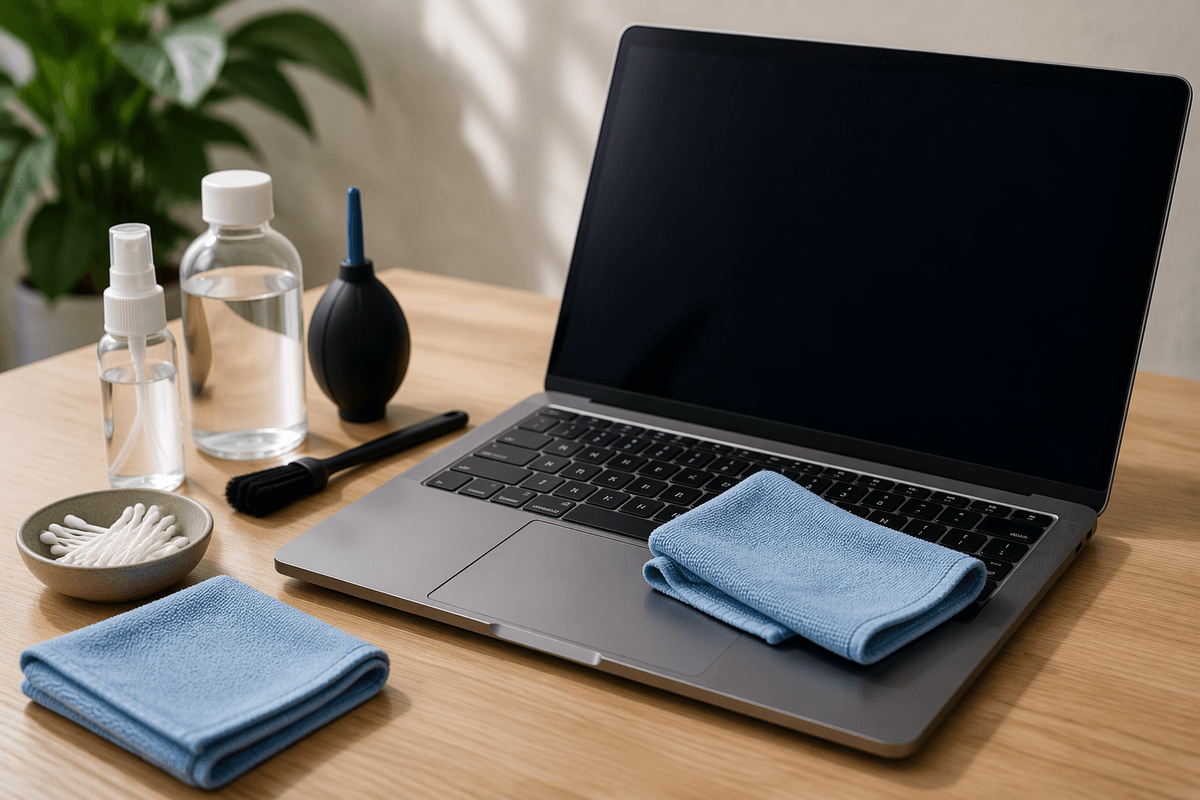
Use a microfiber cloth (two is better: one damp, one dry), cotton swabs for edges, a soft brush for crumbs, and compressed air only in short bursts with the can held upright. For liquids, stick to distilled water for most surfaces and 70% isopropyl alcohol for stubborn grime or disinfecting hard plastics; avoid bleach, ammonia, vinegar, and “multi-surface” sprays. Never spray the laptop directly—wet the cloth until it’s barely damp. If you can see droplets, it’s too much.
Clean the screen without streaks, scratches, or peeling coatings
The screen is where people do the most damage because it looks like glass, but many panels have delicate coatings. Start with a dry microfiber cloth and light pressure to lift dust (dust is what turns wiping into fine scratches). If you need liquid, use distilled water first: dampen a corner of the cloth until it’s just barely moist, then wipe in straight passes, not circles. Follow immediately with a dry part of the cloth to stop edge seepage and streaking.
For oily fingerprints, a small amount of 70% isopropyl alcohol on the cloth is usually safe on modern displays, but test a tiny corner and avoid soaking the bezel. Don’t use paper towels, window cleaner, or disinfecting wipes on the screen—those are common causes of hazing and peeling over time.
Keyboard and trackpad: grime removal without flooding the keys
Keyboards fail from liquid, not dirt, so the goal is to lift grime without letting moisture run under keycaps. Start with the laptop upside down and gently tap, then use a soft brush to pull crumbs toward the edges. If you use compressed air, keep the can upright and use short bursts at a slight angle so you’re pushing debris out, not deeper between switches.
For shiny, sticky keys, dampen a microfiber cloth until it’s barely moist (never spray the keyboard) and wipe across the tops of the keys. Use a cotton swab lightly moistened with 70% isopropyl alcohol for the gaps around keys and along the trackpad edge where skin oil collects. Finish with a dry cloth. Expect a little time cost here: detailed swab work is slow, but it’s far safer than “one wet wipe” that floods the seams.
Ports, vents, and fans: what you can safely clean outside
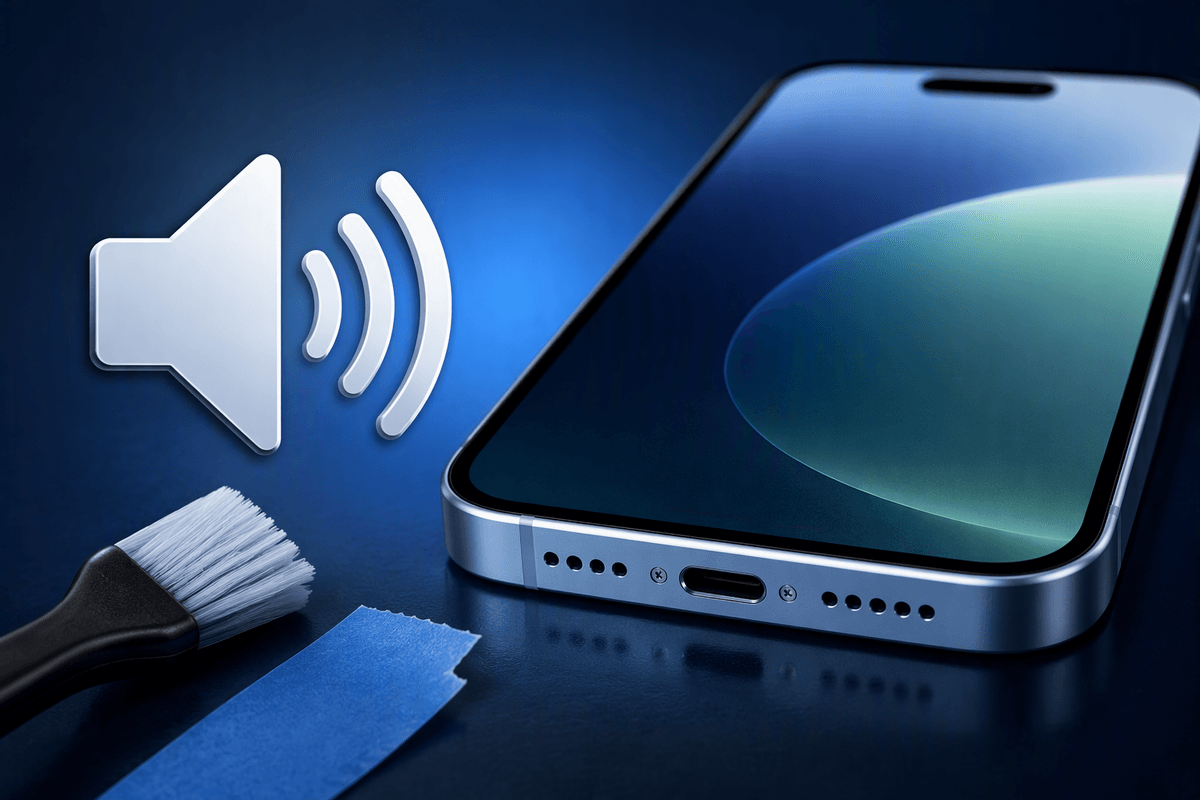
You notice it when the laptop starts running warmer or the fan ramps up during basic work: dust is building where air moves. For the outside-only clean, keep it dry. Use a soft brush to loosen lint around vents, then use compressed air in short bursts with the can upright. Aim across the vent openings at a shallow angle so you’re encouraging dust out, not packing it deeper. If your model has bottom intake vents, lift the rear slightly and blow along the grille, not straight into it.
For ports (USB, HDMI, charging), skip liquids and metal tools. Use a dry cotton swab or a clean, soft brush to sweep the opening, and blow lightly with air if needed. Don’t try to “spin” the fan with air or poke inside with a pin—overspinning can stress the bearings, and one slipped tool can bend contacts. If airflow is still poor, that’s usually the point where opening the laptop (or paying for it) becomes the safer option.
Exterior surfaces and hinges: fingerprints, stickers, and disinfecting
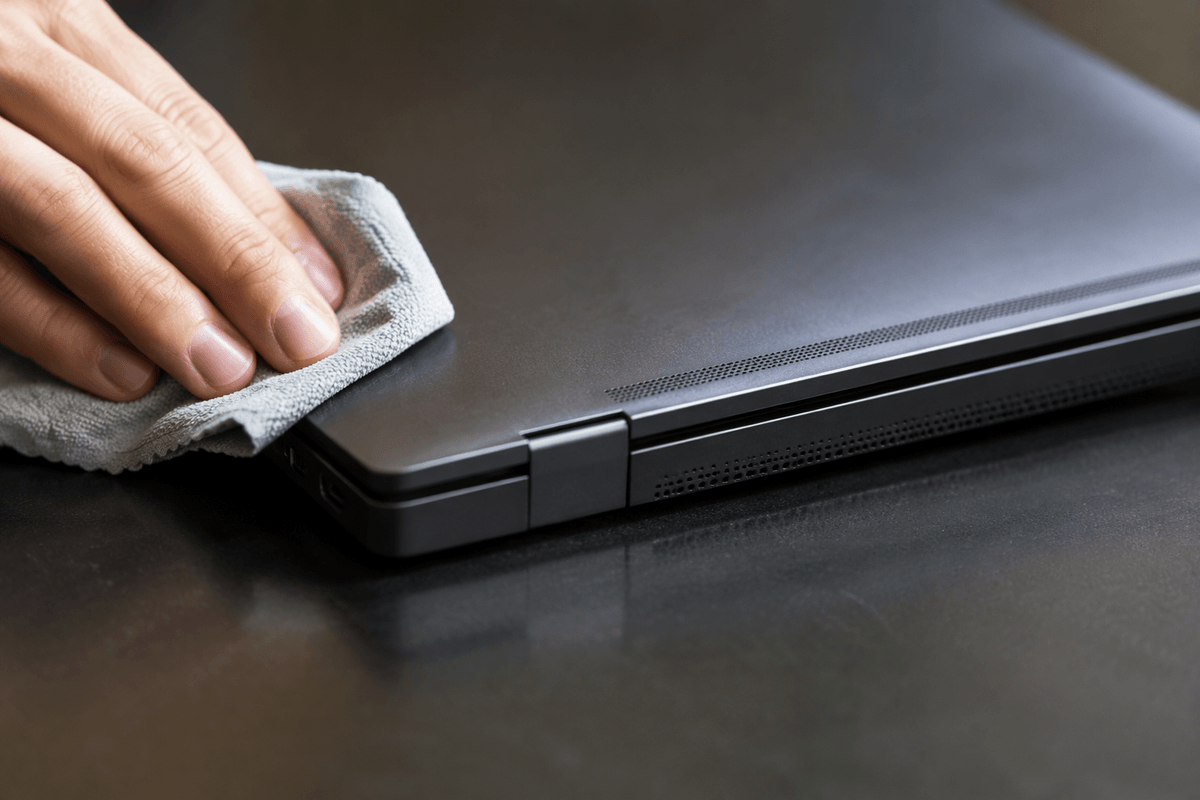
Most of the time you’re cleaning skin oil, not “dirt,” and that’s why palms rests and lid edges get shiny fast. Use a barely damp microfiber cloth with distilled water for general wipe-downs, then dry immediately so moisture doesn’t creep into seams around the keyboard deck or speaker grilles. For stubborn fingerprints on hard plastics or anodized metal, a little 70% isopropyl alcohol on the cloth works well—avoid painted logos and don’t let it pool at edges.
Sticker residue is where people overdo it. Warm it with your hand, peel slowly, then use a small amount of isopropyl alcohol on a cloth or swab and work the glue off in short passes; don’t scrape with a knife or soak the area. For hinges, wipe only what you can see and keep liquids away from hinge gaps—forcing cleaner into that joint can migrate inside and it’s expensive to fix.
If you need disinfecting, target high-touch areas (palm rest, trackpad, lid edge) and keep it to light, controlled wipes. It takes a few minutes of careful work; rushing usually means too much liquid and missed drying.
When to stop: spills, corrosion, and “deep clean” decisions
You’ll know you’ve hit the “stop” point when the mess isn’t just on the surface. If liquid went under keys, into vents, or into a port, shut the laptop down immediately, unplug it, and don’t keep “testing” it—power is what turns a spill into damage. Blot what you can, keep it off heat, and give it real drying time before you try to charge or boot.
Corrosion is the other hard limit: green/white crust in a charging port, sticky residue from soda or coffee, or a sharp “electronics” smell means something got inside. That’s when outside cleaning won’t help, and a deep clean becomes a repair decision: opening the laptop risks broken clips, torn cables, and voided warranties. If it’s still covered, use the warranty route; if not, a shop clean is often cheaper than a new logic board.
A simple cleaning schedule that keeps performance and resale value
The schedule that actually sticks is tied to what you already do. Weekly (or every few days if you eat at your desk), do a 60-second dry pass: close the lid, wipe the lid and palm rest with a dry microfiber cloth, and brush crumbs out of the keyboard. Monthly, do the “barely damp” routine: screen with distilled water, then keys/trackpad edges with a swab lightly moistened with 70% isopropyl alcohol, and dry everything. Every 3–6 months, brush vents and use short air bursts across the grilles. Keep a small kit in your bag; buying supplies twice is cheaper than replacing a hazed screen or worn keyboard.