When screen recording helps (and when it won’t)
Screen recording is great when you need to show what’s happening on your screen: a step-by-step tutorial, a game clip, a bug you want to report, or proof that a setting is missing. It’s also useful when text instructions would take too long, because the recording captures taps, menus, and timing.
It won’t capture everything. Some streaming apps and protected videos may record as a black screen or with no audio due to copyright protection. Call audio can be limited too—especially if you’re trying to capture the other person’s voice. Recordings also create large files fast, and notifications can appear unless you silence them first.
Add Screen Recording to Control Center first
If you don’t see the Screen Recording button in Control Center, add it once and you’ll have it anytime. On iPhone or iPad, open the Settings app, tap Control Center, then find Screen Recording in the “More Controls” list and tap the green plus to add it. If you like a predictable layout, you can also reorder controls so Screen Recording sits near the top where your thumb naturally lands.
This matters because the fastest recordings start from Control Center, not by hunting through settings while the moment passes. It also reduces mistakes—like tapping the wrong control, starting late, or forgetting that a long-press is where the microphone toggle lives. If you use Screen Time or a work/school device profile, Control Center items can be restricted, so Screen Recording may be missing until an admin allows it.
Choose your sound: microphone, app audio, or both
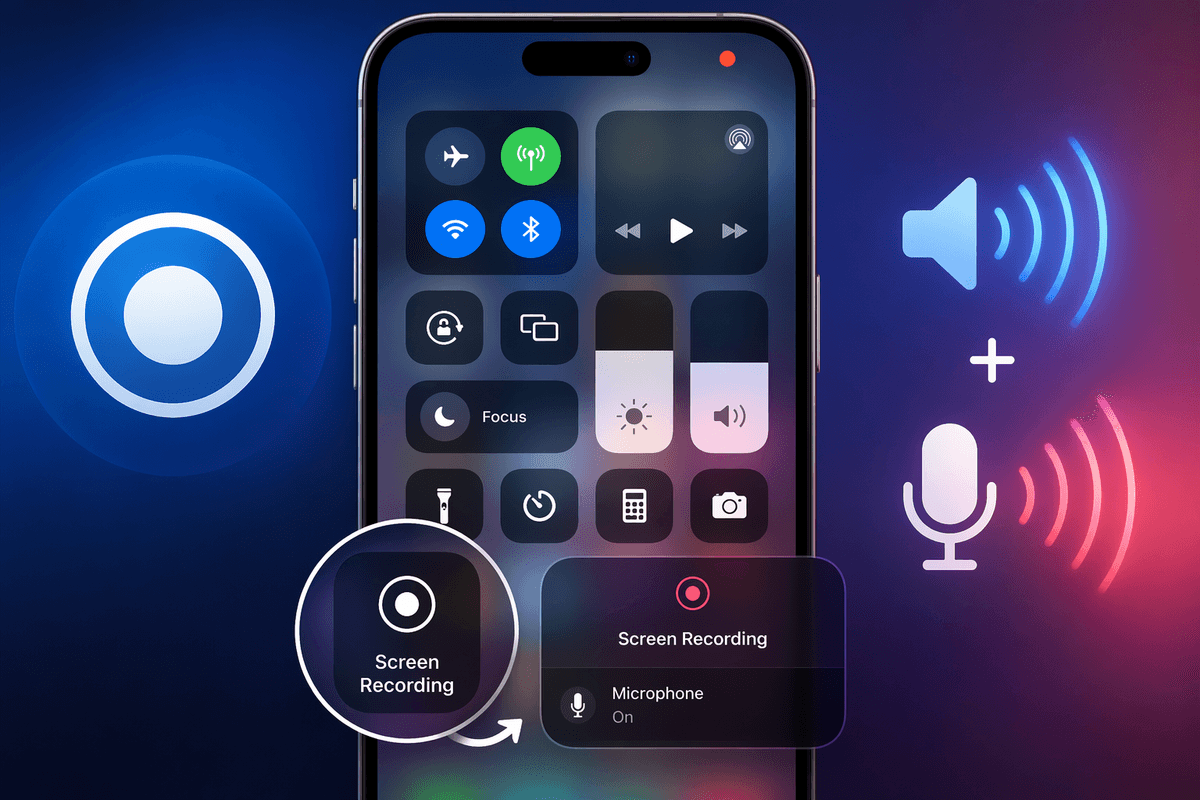
Most people expect “sound” to mean everything they hear, but iOS treats it as two choices: device audio (the app/game/system sounds) and microphone audio (your voice and whatever’s in the room). Before you start recording, open Control Center, then press and hold the Screen Recording button. You’ll see a Microphone option—tap it On if you want narration, or leave it Off if you only want the device’s audio.
If you’re making a tutorial, microphone-on is usually best because you can explain what you’re tapping. For gameplay or bug reports, microphone-off often sounds cleaner and avoids fan noise, breathing, or side conversations. When you use the microphone, the room matters: echoes and background noise can overpower the app audio, and AirPods can help but also add their own quirks. Also keep expectations realistic: some apps (especially protected streaming video) may block audio entirely, even when everything is set correctly.
Start recording fast—and avoid common mis-taps
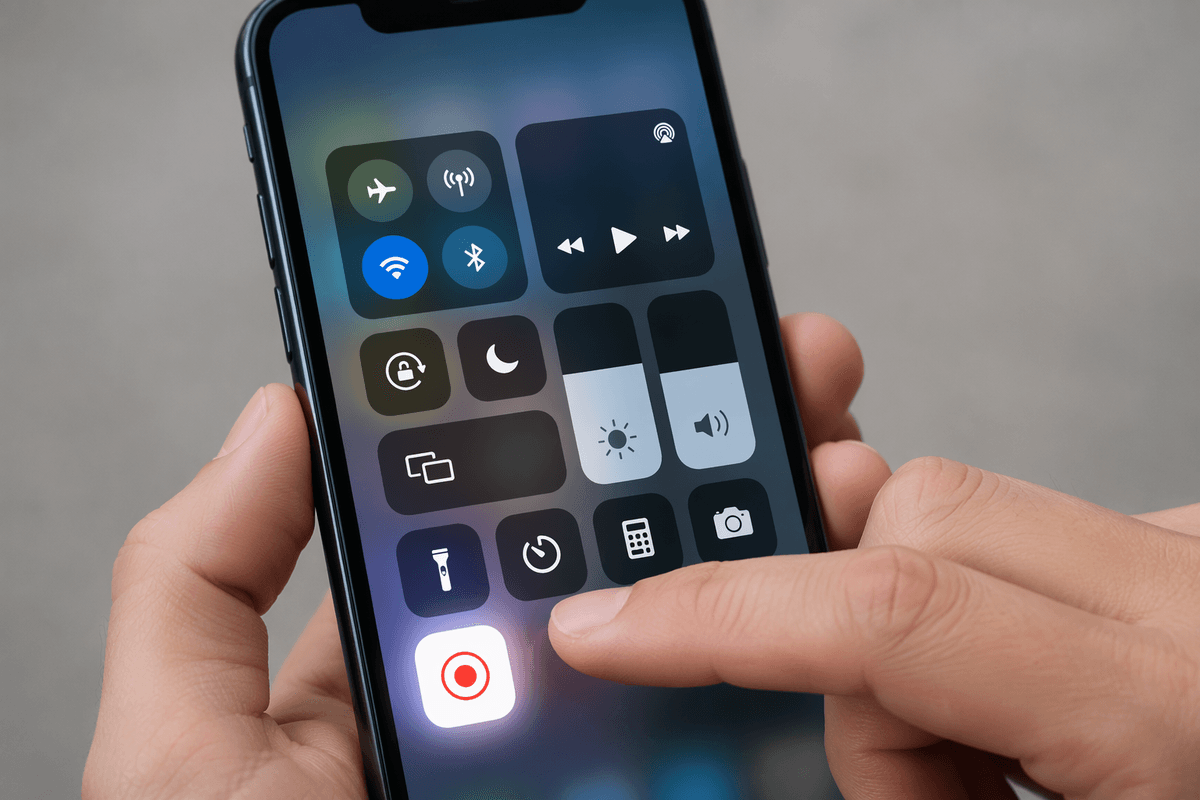
You’ve set your audio choice—now you just need a clean start. Open Control Center (swipe down from the top-right on Face ID iPhones and most iPads; swipe up from the bottom on older iPhones). Tap the Screen Recording button once. You’ll see a 3‑second countdown, which gives you time to close Control Center and get the right screen ready before it begins.
The two most common mis-taps are hitting the button when you meant to press and hold (which skips the microphone toggle), and closing Control Center too slowly so the recording starts on the wrong screen. If you see the red recording indicator, it’s already running—don’t keep tapping controls. Also watch your storage: long recordings can fail or stop early if your device is nearly full.
Find the video, check audio, and trim it cleanly
When you stop recording (tap the red indicator at the top, or open Control Center and tap the record button again), the video saves automatically to the Photos app. Open Photos, go to Recents (or the Screen Recordings album if you have it), and tap the newest video. Hit Play and listen right away—check both the device sounds you expected and whether your voice is actually there. If you recorded with the microphone on, your voice should be obvious in the first few seconds; if it’s missing, it’s better to find out now than after you share it.
To trim, tap Edit, then drag the handles at the start and end. Keep a second of “buffer” before the action so viewers aren’t dropped mid-tap. When you’re done, choose Save Video (overwrites) or Save Video as New Clip (uses more storage but keeps the original as a backup).
If there’s no sound, fix these five causes
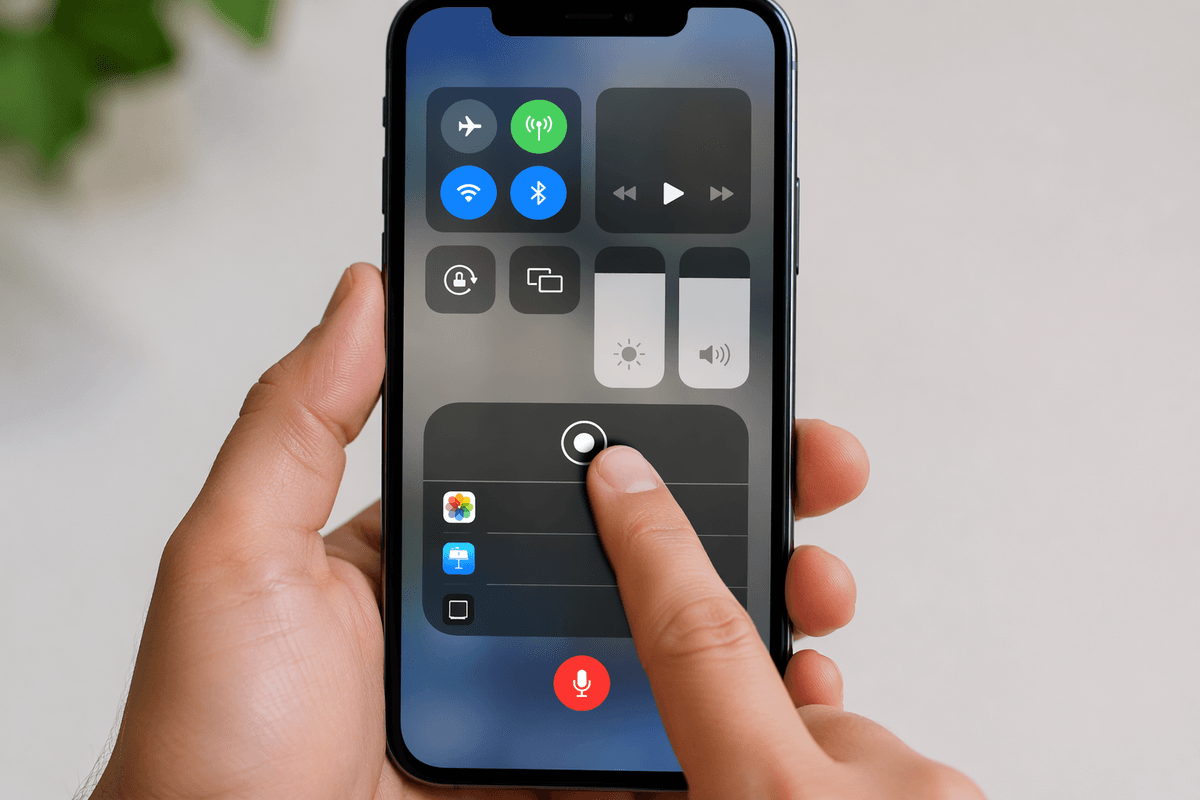
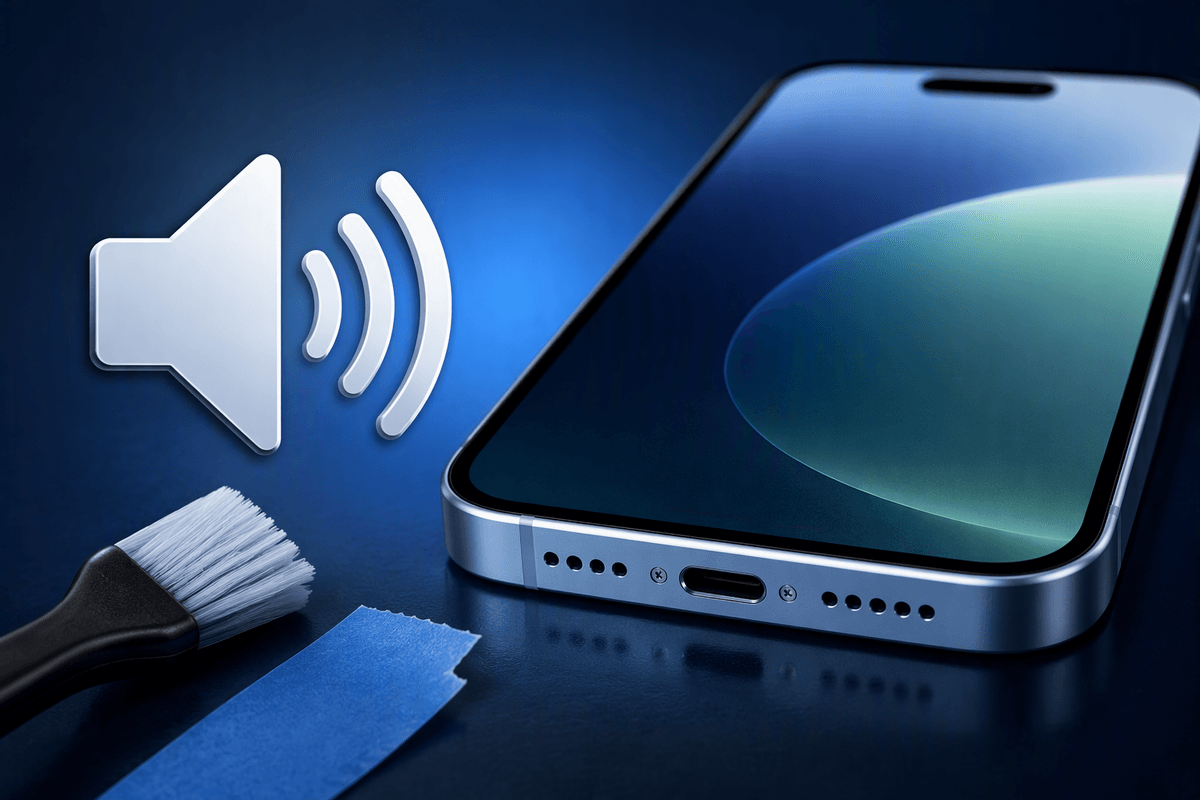
You hit play and it’s silent—usually it’s one of five things. First, check the obvious: your phone isn’t muted and the video volume slider in Photos is up (and your AirPods/Bluetooth speaker isn’t stealing audio). Second, confirm the microphone setting you wanted: press and hold Screen Recording in Control Center and toggle Microphone On for narration; if it was Off, you’ll only get device audio (when allowed). Third, some apps simply won’t record sound (or will record a black screen) because of protected content; test by recording your Home Screen with a system sound to prove your setup works. Fourth, look for Focus/Do Not Disturb or Silent Mode assumptions—these don’t mute the recording itself, but they can hide the “clicks” and alerts you expected to hear. Fifth, if you’re on a work/school device, screen recording or microphone access can be restricted; in that case, it may record video but block audio until an admin changes the policy.
Share or export without wrecking quality
The easiest share is straight from Photos: open the recording, tap the Share button, and send it with AirDrop, Messages, Mail, or Files. For the best quality, AirDrop or saving to Files is usually safest because it keeps the original resolution and frame rate. Messaging apps and some social platforms often re-encode video to save bandwidth, which can make text on-screen look blurry and can smear fast motion—especially in games or screen demos with small UI.
If you’re uploading to a support ticket or sharing with a teammate, export the unedited (or lightly trimmed) clip and avoid “compressed” options when an app offers them. Also watch file size: a few minutes of recording can be hundreds of megabytes, so Wi‑Fi uploads are smoother, and older devices may stutter while exporting if storage is tight.
A quick checklist for reliable recordings every time
Before you record, turn on the audio you actually want: press and hold Screen Recording and set Microphone On for voice, Off for cleaner app/system sound. Silence distractions (Focus/Do Not Disturb) and check storage so the recording doesn’t stop early. Start from the screen you want viewers to see, then swipe in Control Center and let the 3-second countdown finish.
After you stop, open Photos immediately and play the first 5–10 seconds to confirm sound and volume. If it’s silent, test a quick Home Screen recording to rule out protected app audio. Trim only what you need, then share via AirDrop or Files when quality matters.