When games make you nauseous: what you’re experiencing
You’re playing fine, then it hits: a wave of nausea, a dull headache behind the eyes, light dizziness, sweating, or that “floating” feeling when you look away from the screen. Some people feel it most in first-person games, fast third-person cameras, racing titles, or VR; others notice it when a game stutters, the camera bobs, or the view feels too zoomed in. It can build gradually over 10–30 minutes, or spike after a quick turn or cutscene. The annoying part is that once it starts, it can linger and wreck the rest of your evening.
This isn’t you being “bad at games.” It’s a predictable body response to certain visual motion cues, and it has patterns you can test and reduce. The practical constraint is that powering through usually backfires: symptoms get stronger, tolerance drops, and you start associating that game with feeling sick. If you’re getting severe vertigo, chest pain, fainting, or one-sided weakness, stop and treat it as a medical issue rather than a settings problem.
Why motion sickness happens: your eyes and inner ear disagree

Think about reading in the back seat of a car: your eyes say “still,” but your body feels acceleration and turns. Game sickness is often the reverse. Your eyes see fast motion—forward movement, strafing, head-bob, quick camera turns—while your inner ear (the balance system in the fluid-filled canals of your head) reports that you’re sitting still. Your brain treats that mismatch as an error signal and, for some people, it kicks off nausea, dizziness, headache, and fatigue as a protective reflex.
The effect gets stronger when motion cues are intense but unreliable: narrow field of view, heavy blur, rapid zooms, and inconsistent frame pacing. Small delays also matter. If your input, display, or VR headset lags even a little, your eyes see motion later than your hands expect, which can amplify the mismatch. The frustrating limitation is that you can’t “willpower” your senses into agreeing; you have to reduce the conflict.
The biggest in-game triggers: camera, FOV, and motion cues
You can usually predict which games will trigger you by looking at how they “move the world.” The most common culprit is the camera: fast sensitivity, heavy acceleration, sharp snap turns, and constant micro-motion from head-bob or weapon sway. Cinematic touches can be worse than gameplay—screen shake, aggressive camera tilts, quick cutscene cuts, and forced zooms—because they add motion you didn’t choose, so your brain can’t match it to your inputs.
Field of view (FOV) is the other big lever. Too narrow can feel like looking through a tube, making rotation and speed feel harsher; too wide can create edge distortion that bothers some people. Motion blur, depth of field, film grain, chromatic aberration, and vignette effects can also confuse your motion cues, especially when the frame rate dips. The practical catch is that comfort-focused settings sometimes reduce “cinematic” style or visibility, so you may need to trade a bit of look and feel for stability.
Fast relief inside settings: a practical tuning checklist
Start with the settings that reduce “unearned” motion. Turn off or minimize camera shake, head-bob, weapon sway, motion blur, depth of field, film grain, chromatic aberration, and aggressive vignette. If the game has a “reduced camera motion” or “comfort” toggle, use it even if it makes the presentation feel less cinematic. For first-person games, lower look sensitivity a bit, disable acceleration if possible, and prefer smooth, predictable turning over fast snaps.
Then tune FOV and stability. Increase FOV in small steps (5 degrees at a time) until movement feels less tunnel-like, but stop if the edges start to warp or you feel eye strain. Lock the frame rate to a value your system can actually hold (often 60, 90, or 120) and reduce settings that cause dips, because inconsistent frame pacing can feel worse than a lower-but-steady cap. If you have options like “reduce HUD motion” or “center dot/crosshair,” enable them; a stable on-screen reference can help your brain anchor.
In VR, prioritize comfort options over realism: snap turns instead of smooth, teleport or vignette during motion, and recalibrate IPD and height. The cost is that these can slow you down or feel less immersive, but they’re often the fastest path to playable.
Your setup matters: distance, display, lighting, and latency
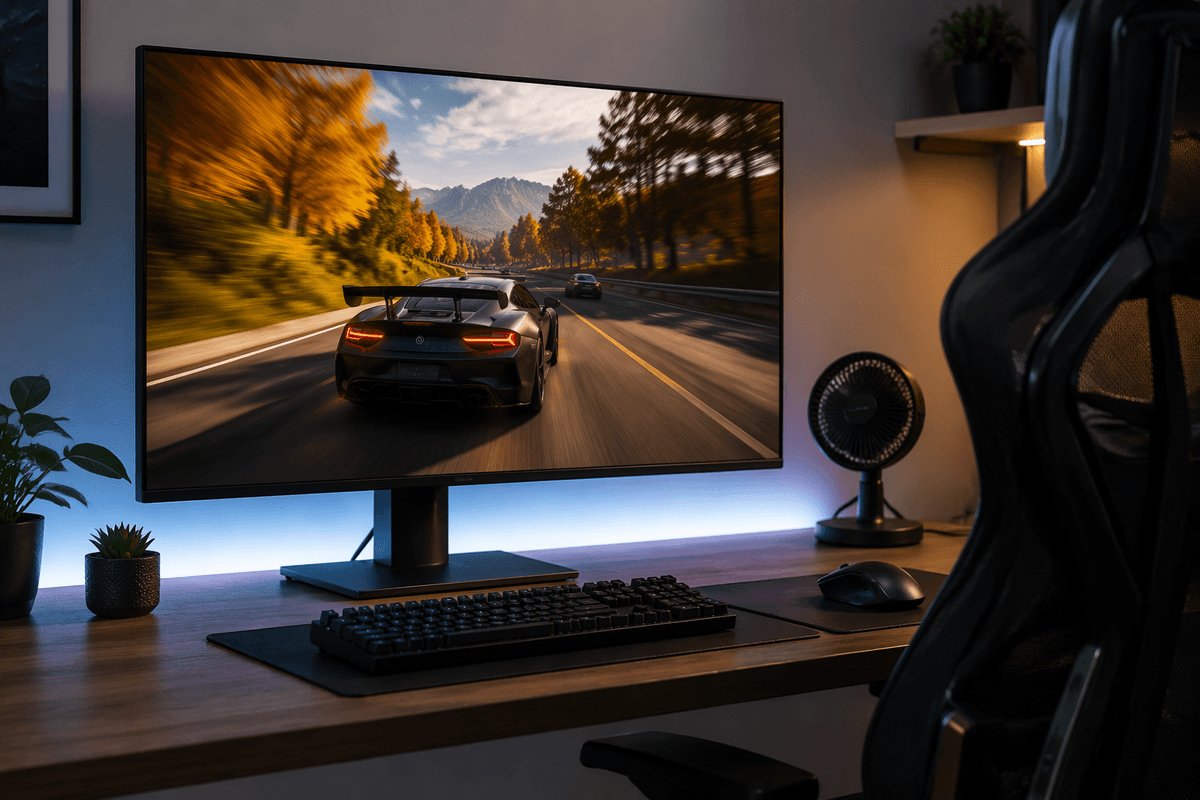
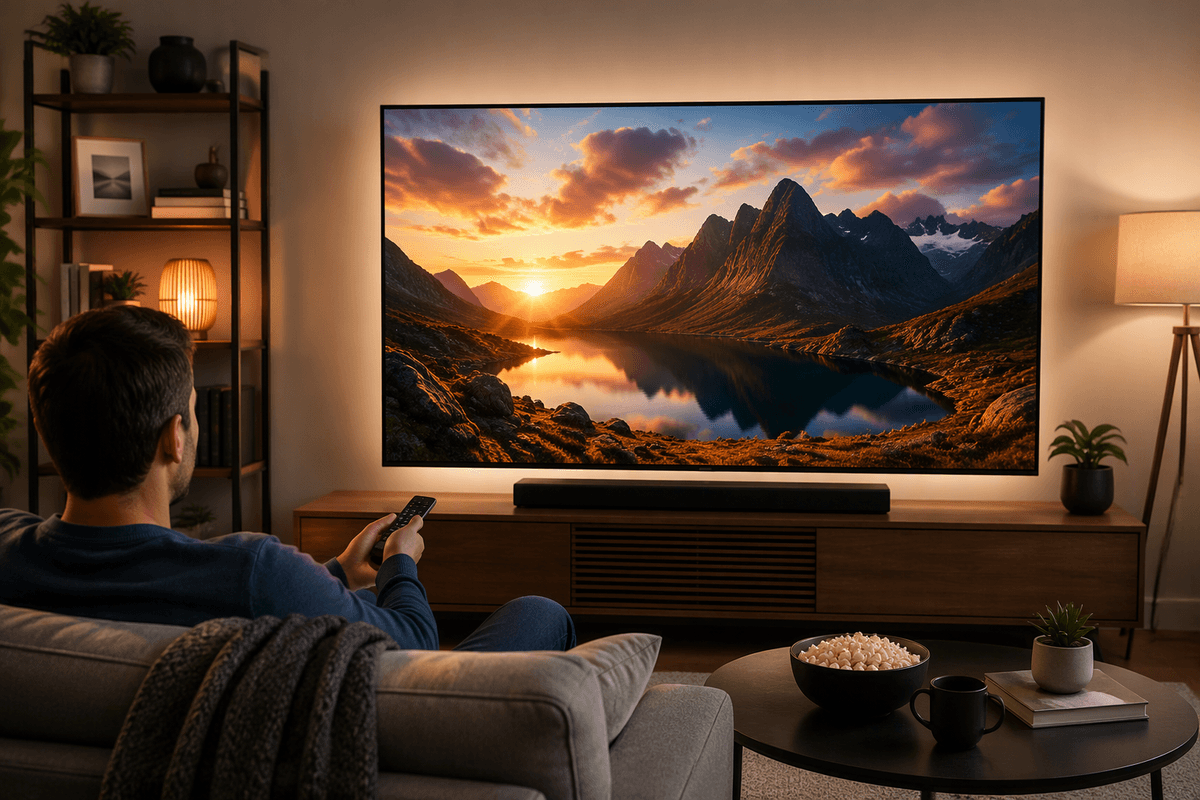
You can do everything “right” in settings and still feel sick if your real-world setup is feeding your eyes unstable cues. Start with distance: if you’re too close to a large TV or ultrawide monitor, the image fills your vision and magnifies motion. Back up until you can see the whole screen without moving your head, and keep the screen centered at eye level to reduce neck strain and subtle sway.
Display behavior matters too. A steady 60 fps on a low-latency “Game Mode” TV often feels better than higher visuals with extra processing. If you can, use a monitor with VRR (G-SYNC/FreeSync) to smooth frame pacing, and avoid heavy post-processing features on TVs. Match brightness to the room (playing in a pitch-dark room with a bright screen is a common headache trigger), add soft bias lighting behind the display, and keep a small fan nearby—cool air and a stable point of reference can reduce symptoms. The trade-off is cost: low-lag displays and VRR-capable screens aren’t cheap.
Building tolerance safely: pacing, breaks, and prevention tools
Most people build tolerance the same way they build calluses: short, controlled exposure with recovery, not “one long session until you crash.” Start with a timer and end the session while you still feel okay—try 10–15 minutes, then a 5–10 minute break where you stand up, look at something far away, and let your eyes reset. If you feel the first hints (warmth, stomach drop, eye pressure), stop immediately; pushing through trains your body to associate that game with nausea, and it usually lowers your tolerance next time.
Prevention tools can help, but they’re not magic. A fan, cool water, and a stable visual anchor (crosshair, center dot, or even a small sticker near the middle of the screen) reduce “drift.” Some players do better with ginger or acupressure bands; motion-sickness meds can work but often cause drowsiness and aren’t a great fit for competitive play or school nights. The practical constraint is time: tolerance builds over days and weeks, and it’s normal to have setbacks after a bad session or a new game.
A realistic game plan: what to try first, and when to get help
If you want a simple order of operations: pick one known “bad” game, apply the comfort checklist (kill shake/blur/bob, add a center dot, adjust FOV, cap frames to what you can hold), then test in 10–15 minute blocks with breaks. If that works, keep the same baseline across games and change only one variable at a time so you know what actually helped. If you still get sick even in slower games, or symptoms show up away from the screen, treat it as more than “game settings.” Ongoing vertigo, migraines, vision changes, or frequent vomiting are good reasons to pause gaming and talk to a clinician.