Why Freestyle is the quickest graphics upgrade
You’ve probably had the moment where a game runs fine, but the image looks a little soft, washed out, or hazy—especially after switching monitors, enabling TAA, or playing in darker scenes. Nvidia Freestyle is the quickest fix because it works like a real-time post-processing layer you can tune while you play, without installing mods or rewriting game files. A small sharpening boost, a tighter contrast curve, and a touch of color correction can make textures and edges look cleaner fast.
The trade-off is that every filter costs a bit of GPU time, and heavy-handed settings can add halos, crush shadow detail, or make UI elements look odd. The goal isn’t to “stylize” the game—it’s to get a cleaner, more readable image with minimal performance impact.
Check GPU, driver, and game support first
Before you chase settings, make sure your setup can actually show Freestyle. You need an Nvidia GeForce GPU that supports the in-game overlay, a current Game Ready (or Studio) driver, and the Nvidia app (or GeForce Experience) with the overlay enabled. If you haven’t updated drivers in a while, update first—Freestyle issues are often just an old driver or a half-broken overlay install.
Game support is the other gate: not every title exposes the hooks Freestyle needs, and some competitive games block overlays or certain effects because of anti-cheat. If the overlay opens but Freestyle is missing, try switching between exclusive fullscreen and borderless, then restart the game once. Also watch for conflicts: HDR, unusual resolution scaling, and reshade-style injectors can make filters fail, flicker, or apply to the UI in weird ways.
Turn on the overlay and open Freestyle in-game
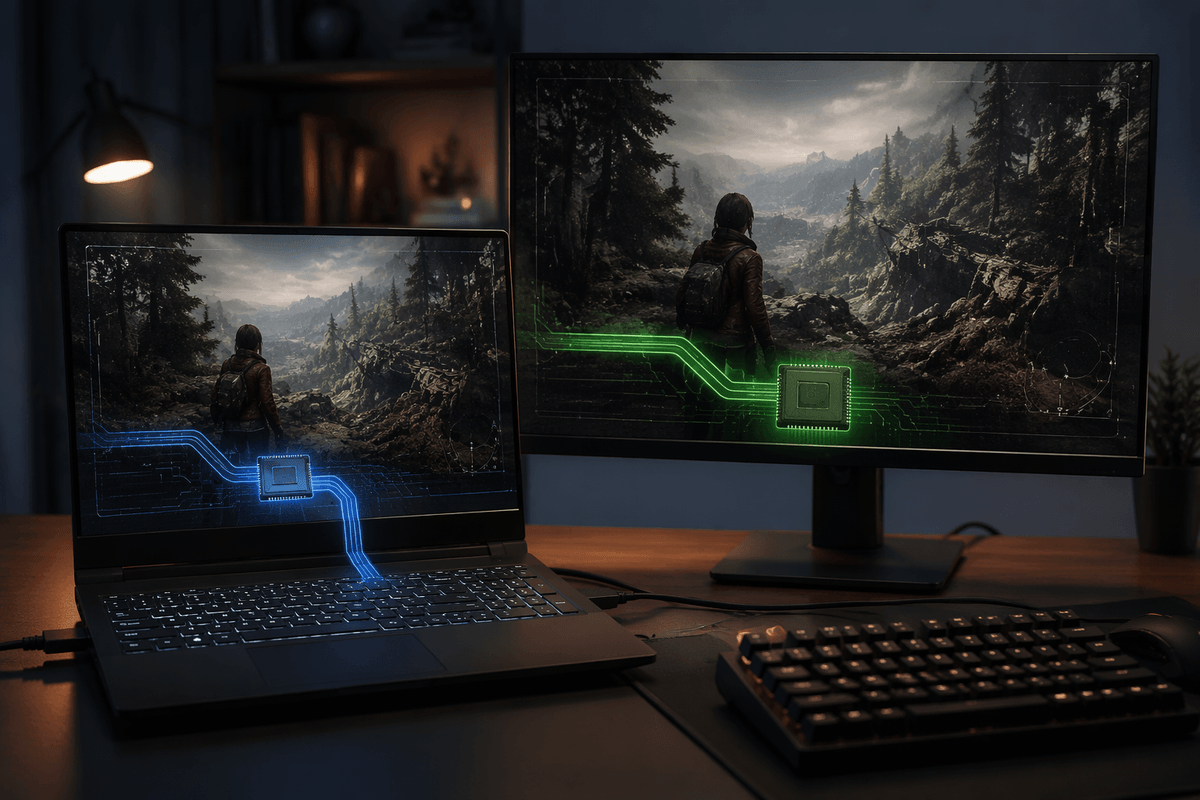
Most of the time, the only “setup” step is making sure the Nvidia overlay is actually on. Open the Nvidia app (or GeForce Experience), go to Settings, and confirm In-Game Overlay is enabled. If you use a laptop or multi-monitor setup, also make sure the game is running on the GeForce GPU and not an iGPU, or the overlay can appear but Freestyle won’t.
Launch your game, then press Alt+Z to open the overlay. From there, choose Game Filter (that’s Freestyle) and you’ll see slots to add filters. If Alt+Z does nothing, close Discord/Steam/Xbox overlay for a minute and test again—overlay conflicts are common. If Game Filter is greyed out or missing, restart the game after toggling fullscreen/borderless, and expect a small FPS hit once you start stacking filters.
Build a clean look: start with three core filters
The easiest way to get a “clean” image is to treat Freestyle like a light finishing pass, not a makeover. Start with three practical filters and keep each one subtle: Sharpen, a contrast/color tweak, and an HDR-style lift. Add Sharpen first (often called Sharpen or Sharpen+). Raise it only until distant textures and thin edges stop looking smeared by TAA—then back off a notch if you see bright halos around high-contrast lines or shimmering in foliage.
Second, use something like Color to fix the “washed out” feel: nudge contrast up a little, lower gamma slightly if blacks look grey, and add a small saturation bump if the world looks flat. Third, add an HDR Toning-style filter (or similar) to bring back highlight depth without crushing shadows; small values go a long way. The main limitation is that each filter adds GPU cost and can affect UI clarity, so avoid stacking extras until the base looks right.
Choose presets for your game type and lighting
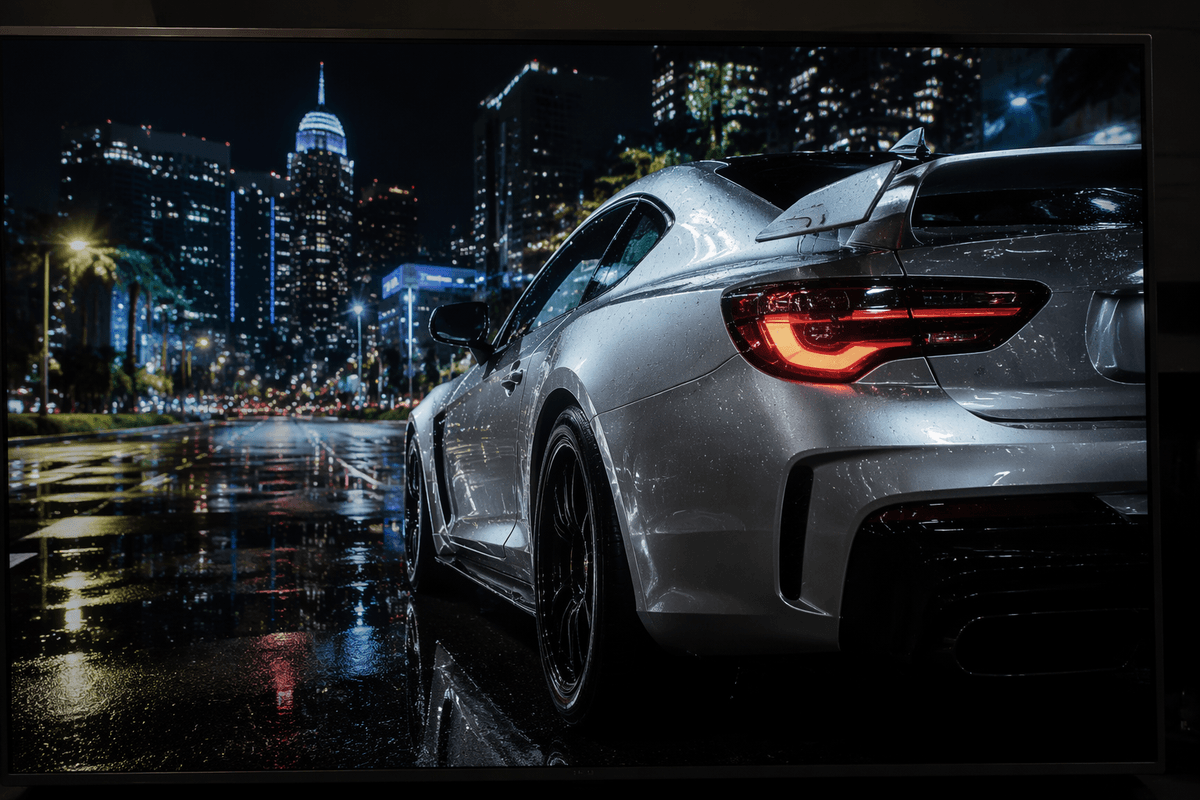
Once your three-core stack looks solid, save a couple of “situational” presets and swap them based on the kind of game and the lighting you’re actually playing in. For bright, outdoor shooters and battle royale maps, keep it crisp and restrained: slightly higher Sharpen, a small contrast bump, and minimal HDR toning so skies don’t band and distant haze doesn’t turn into crunchy noise. For dark horror or story games, do the opposite—ease off Sharpen (it can amplify grain), lower contrast a touch, and use gamma/black level controls to pull detail out of near-black areas without turning the whole game grey.
Racing games and anything with lots of glossy surfaces usually benefit from less “HDR lift” and more careful highlights: aim to keep whites clean and specular reflections bright without blooming. Stylized games are the one place where saturation can go higher, but watch skin tones and UI colors so they don’t look neon. A practical constraint: the same preset won’t survive big lighting changes (day/night cycles, indoor-to-outdoor), so it’s normal to keep two presets per game and flip them rather than constantly re-tuning mid-match.
Keep FPS steady while using filters
You’ll feel Freestyle’s performance cost most when you stack filters or crank the “expensive” ones. Treat FPS like a budget: start with your three-core look, then add one filter at a time while watching your frametime graph (or at least your FPS) in the exact scene that usually runs worst—big firefights, dense foliage, heavy weather, or busy city streets. If performance dips, first lower the intensity (especially Sharpen+, HDR toning, and heavy color curves) before you delete the filter; small reductions often recover most of the lost frames.
Aim for stability over peak FPS. If you use DLSS/FSR or dynamic resolution, set those first, then tune Freestyle after, because scaling changes how sharpening and contrast look and can push shimmering. For competitive games, keep the stack lean (2–3 filters) and avoid anything that adds glow or film grain. The practical limitation is simple: on older GPUs, 1440p/4K plus several filters can cost enough frames to feel like input lag, so prioritize responsiveness and readability over “perfect” grading.
Save per-game profiles, hotkeys, and fix common issues
Once you have a look you actually like, lock it in per game so you’re not rebuilding it every session. In the Freestyle “Game Filter” panel, use the preset slots to save two versions (for example: “Day/Outdoor” and “Night/Indoor”), then load the one that fits the map or time-of-day. If you keep bumping the same sliders mid-match, set a simple habit: one preset tuned for clarity and FPS, one preset tuned for atmosphere. You can also bind a quick overlay hotkey (and avoid clashes with common in-game binds) so you can toggle the overlay, swap presets, and close it fast.
If filters don’t show up, start with the basics: confirm the in-game overlay is enabled, update your Nvidia driver, then restart the game after switching between exclusive fullscreen and borderless. If Alt+Z won’t open, temporarily disable other overlays (Steam, Discord, Xbox Game Bar) and try again. If the filter applies to UI strangely or flickers, turn off HDR in-game for a test, remove any ReShade-style injector, and reduce sharpening first—those are the most common triggers.
A simple routine to make Freestyle look great
The routine that keeps you out of slider-hell is simple: pick a repeatable test spot, tune once, then stop. Load a saved game or training area with fine detail (fences, leaves, brick), a dark corner, and a bright sky in the same view. Add Sharpen first until textures read clearly, then back off if you see halos or shimmer. Add a light Color/contrast tweak to fix greys and skin tones. Add a small HDR toning lift for highlights, not “pop.”
Then sanity-check it in motion: sprint, pan the camera, and watch HUD edges and thin wires. If you notice noise, banding, or UI tinting, reduce the last change you made. Save two presets per game (bright/dark) and cap yourself at 2–3 filters if you care about steady FPS.