From spotting birds to capturing keeper photos
You already know the hardest part of bird photography: finding the bird before it disappears. The frustration starts when your eyes lock on a warbler in good light, but your camera comes home with a soft blob, a blown-out white chest, or a twig in perfect focus instead of the bird’s eye.
The good news is you don’t need exotic gear or deep photography theory to raise your “keeper” rate. A few habits—prioritizing shutter speed over perfectly clean files, using the right autofocus and burst mode, and bracing your body the same way every time—make a bigger difference than chasing complicated settings. The trade-off is real: faster shutter speeds often mean higher ISO and more noise, but a noisy sharp photo beats a clean blurry one.
Start with your birding habits and photo goals
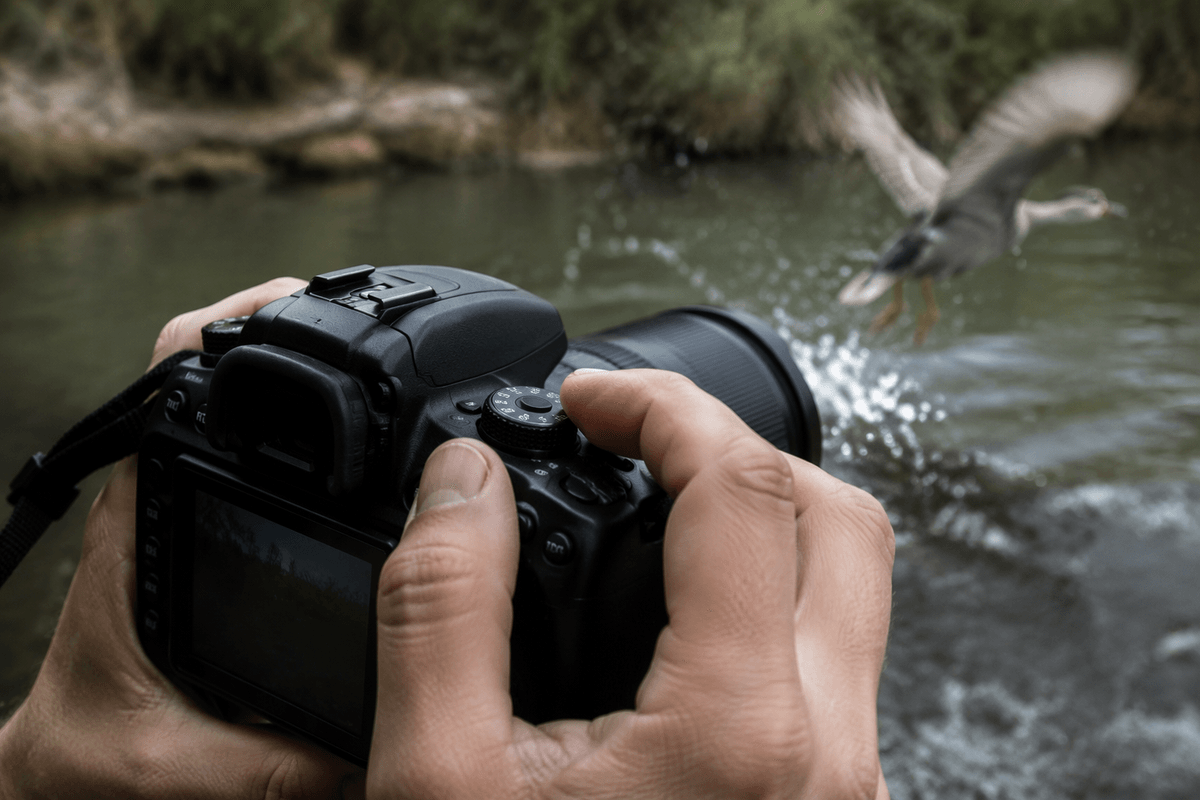
Think about how you actually bird. If most of your sightings are quick trail moments—songbirds flitting through branches—your “success” goal should be a sharp head-and-eye shot, not a full-frame portrait. That pushes you toward fast shutter speeds, dependable autofocus, and short bursts, even if the photo ends up grainier than you’d like. If you mostly watch from a backyard feeder or a pond overlook, you can slow down and aim for cleaner files, nicer backgrounds, and more deliberate framing because the birds repeat behaviors and give you more chances.
Pick one or two photo goals for the next few outings: “sharp perched birds,” “birds in flight,” or “behavior at the feeder.” Each goal changes what matters most, and it keeps you from fiddling with settings while the bird leaves. The practical constraint is time: changing modes, swapping lenses, or digging through menus costs shots.
Gear choices that matter most in the field
You’ve probably felt the gear squeeze: the bird is just far enough away that it looks great through binoculars, but small and mushy in the photo. In the field, the biggest “reach” upgrade is more focal length, not more megapixels. A bridge camera with a long zoom can work surprisingly well for perched birds in good light, and an entry-level mirrorless/DSLR with a 300mm–600mm equivalent setup gives you more autofocus speed and cleaner files. The cost is weight and stability demands; long lenses magnify handshake and make hiking less fun if you overpack.
Stability gear matters more than most people expect. If you won’t carry a tripod, a small monopod, hiking pole with a simple support, or even a neck/hand strap you can pull tight can raise sharpness immediately. Bring one simple way to steady the camera and actually use it. Extra batteries and a bigger memory card aren’t glamorous, but burst shooting and cold mornings drain both fast, and running out ends the day early.
Camera settings for sharp birds in real light
You’ve probably raised the camera, half-pressed the shutter, and watched the focus box grab a branch in front of the bird. Fight that with a simple “sharpness first” baseline: use a fast shutter speed, continuous autofocus, and short bursts. For perched birds, try 1/500–1/1000 sec; for hopping songbirds and wing flicks, 1/1000–1/2000; for birds in flight, 1/2000+ if you can get it. Set AF-C/Servo, pick a small focus area (single point or small zone), and aim for the eye.
In changing light, auto ISO is your friend because it protects shutter speed. Put the camera in Shutter Priority or Manual with auto ISO, cap the max ISO at a level you can live with, and accept some grain. Use exposure compensation: dial down a bit for white birds in sun, dial up for dark birds in shade. The practical catch is battery and card use—burst mode fills both quickly—so shoot in controlled bursts and pause to reacquire focus rather than holding the shutter down.
Fieldcraft: getting closer without spooking birds
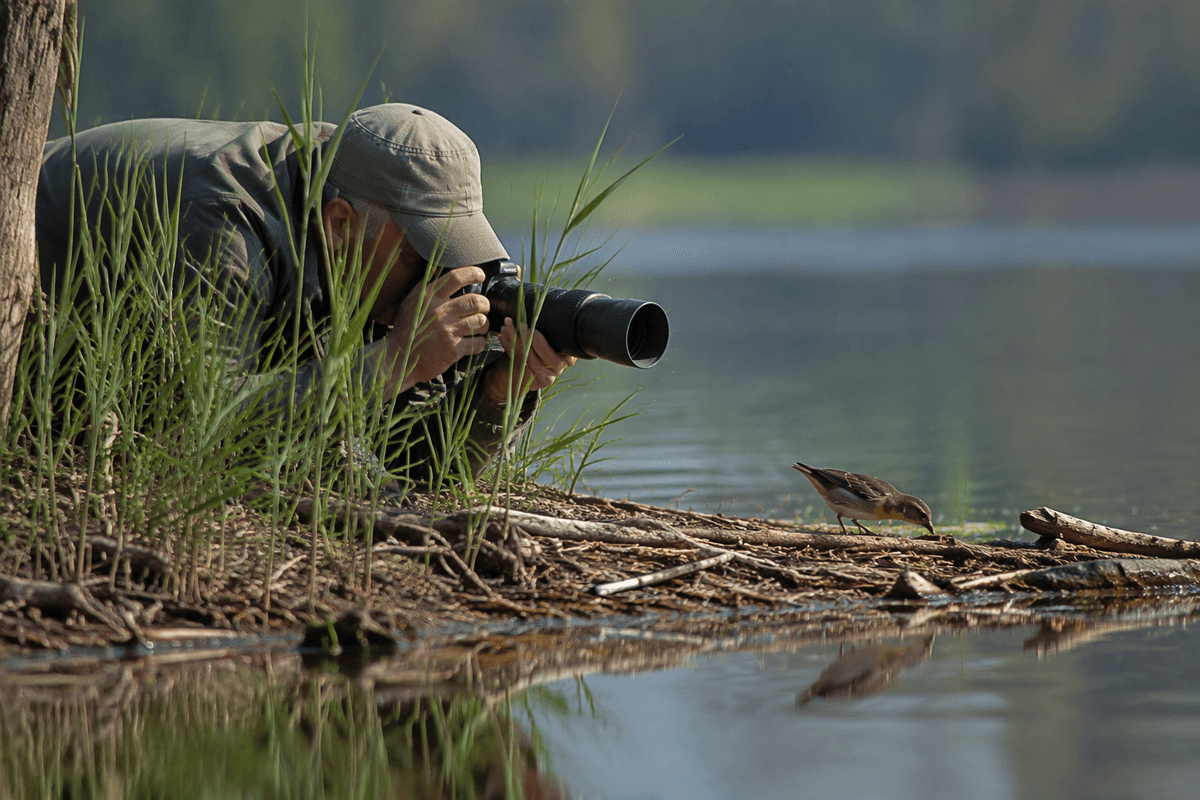
You can often cut the “distance problem” in half without taking another step, just by changing your angle and timing. If a bird is feeding along an edge, don’t walk straight at it; move parallel, stop early, and let it drift closer as it works. Use natural cover—tree trunks, reeds, a fence line—and keep your profile small. When the bird looks toward you, freeze. When it turns away to feed or preen, take one or two quiet steps and stop again. This rhythm feels slow, but it’s faster than flushing the bird and getting nothing.
Set up where the bird wants to be, not where you want it to pose. At ponds and feeders, pick a spot with a clean background and wait for repeat visits; birds relax when you become part of the scene. Noise matters more than you think: loose jacket fabric, crunchy gravel, and a swinging tripod can end the opportunity. If you’re close enough that the bird stops feeding and “stares,” you’re already too close—back up a few steps and you’ll usually get more natural behavior and better photos.
Composition and background tricks that elevate any shot
You’ve nailed focus and shutter speed, but the photo still feels “busy” because the background is fighting the bird. Before you shoot, take one step left or right and watch what happens behind the subject. A small shift can replace tangled branches with open water or distant foliage. If you can, lower your angle so the background is farther away; more distance behind the bird gives you cleaner blur on any camera. When the bird is backlit or surrounded by bright sky, don’t force it—reframe to put a darker patch of trees behind the head, or wait for the bird to move to a better perch.
For composition, put the eye on a strong point in the frame and leave space in front of the beak or in the direction the bird is looking. Cropping can save a lot later, but it costs detail, especially on phones and small sensors, so try to fill the frame without crowding. Watch for cut-off tails, clipped wings, and distracting “sticks through the head” intersections; often the fix is a half-step, not a new lens.
After the hike: simple edits and a repeatable workflow
You get home, scroll fast, and everything looks worse than it felt in the field. Resist the urge to “fix” every frame. First pass: delete obvious blurs and missed focus, then star anything with a sharp eye and a decent pose. Second pass: crop for the bird and trim distractions, keeping a little space in front of the beak. Then do three small edits—exposure, highlights (pull down for white birds), and a touch of contrast. Add modest sharpening and light noise reduction; too much makes feathers look waxy. Save a preset and apply it consistently so editing doesn’t become another hobby.